Upgrading a front hall vestibule
Before
Nothing wrong with it in particular except a lack of shoe storage, and they wanted a bit more flair...
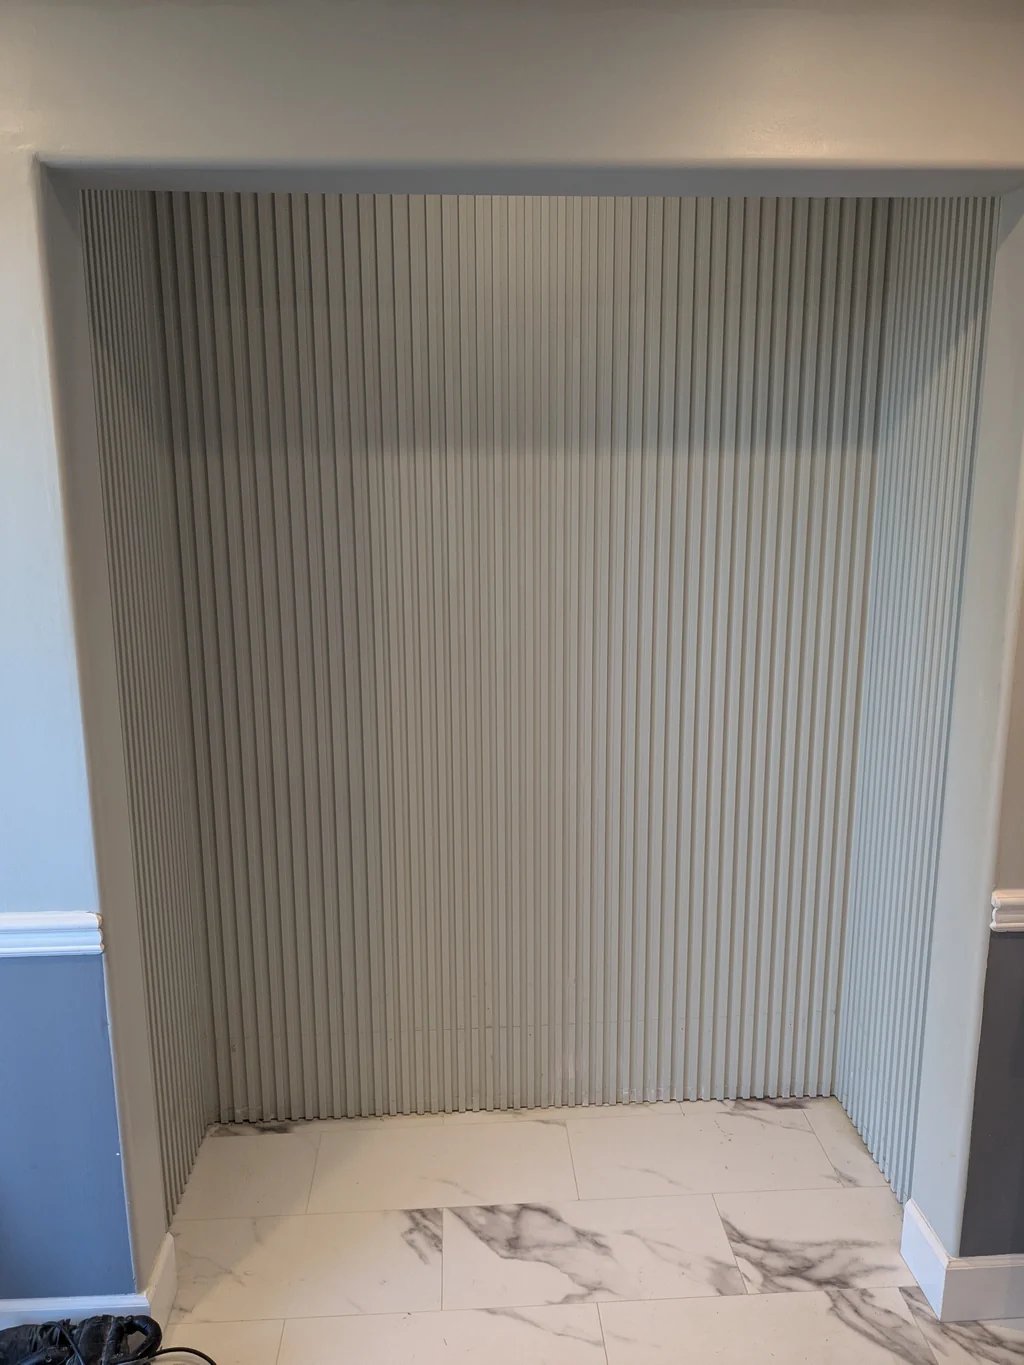
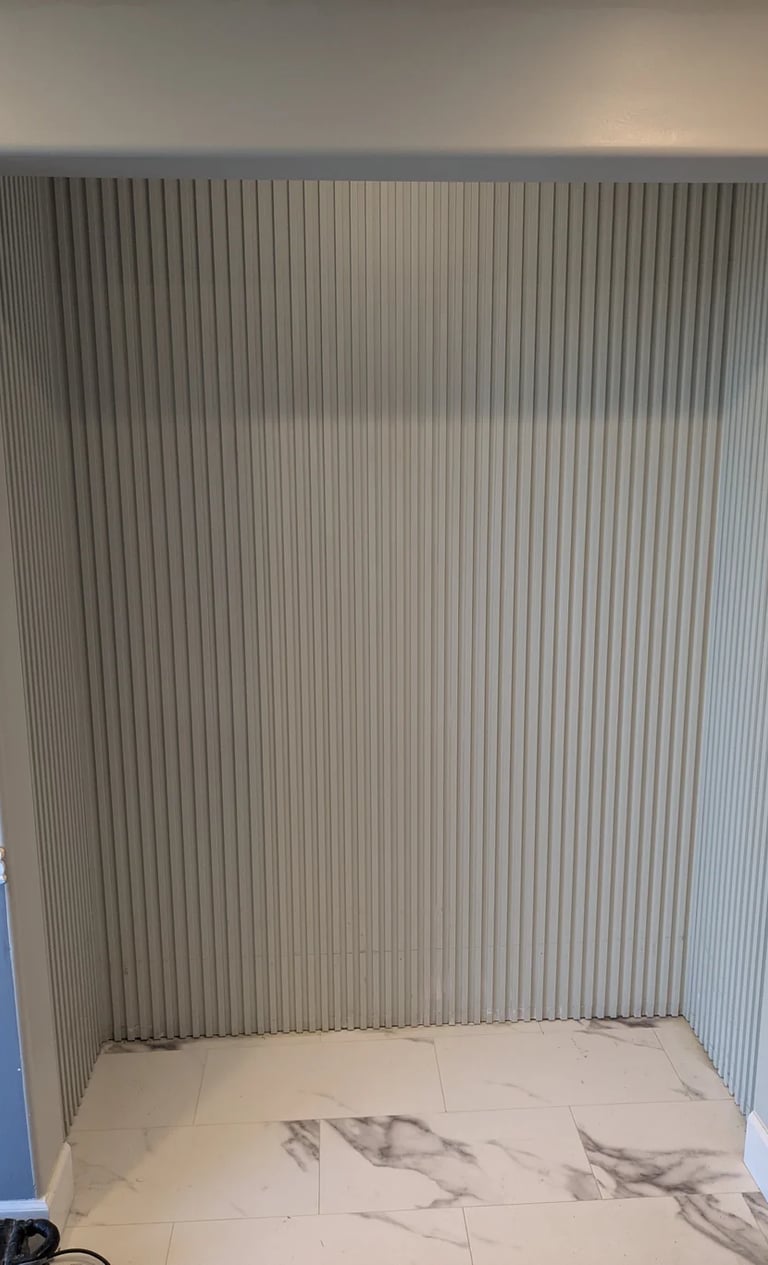
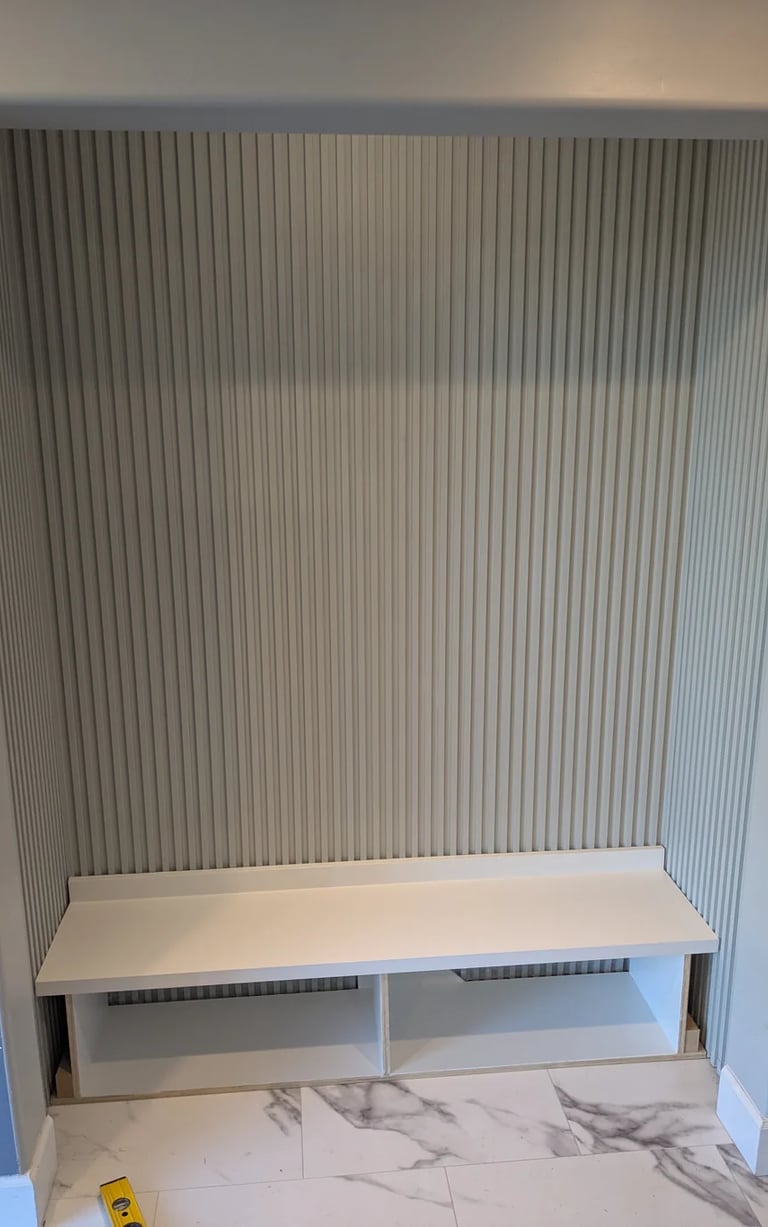
Step 1: Bare walls
Kept the nice beadwork; had to prebuild everything and then do final trim & fit on-site
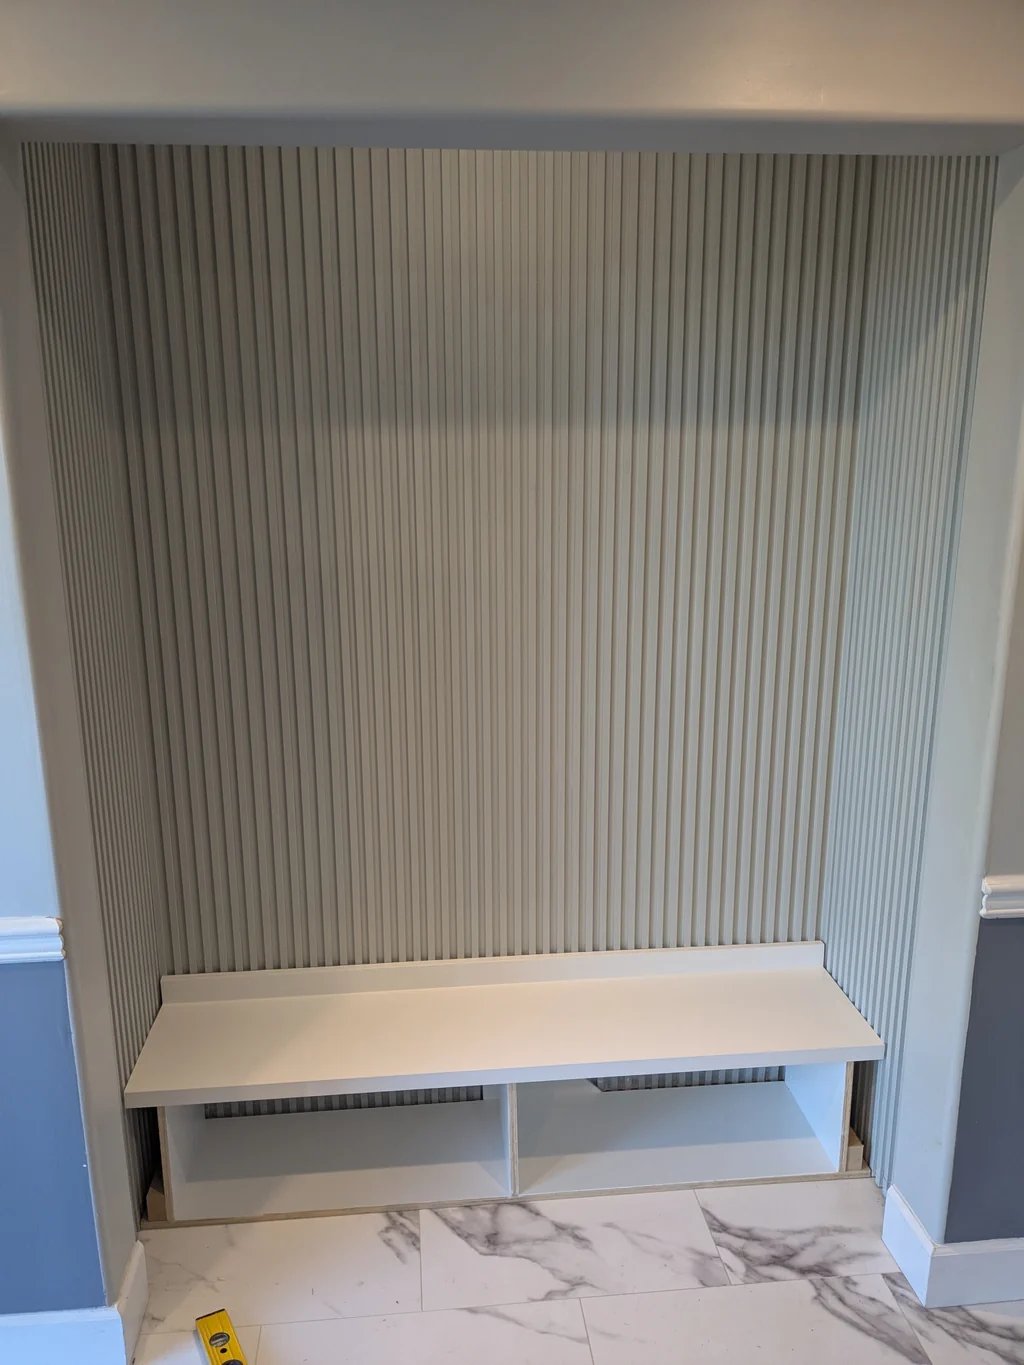
Step 2: Base shelf with drawers
A thick and sturdy lower shelf, ready for heavy-duty drawers with full-extension slides for storage
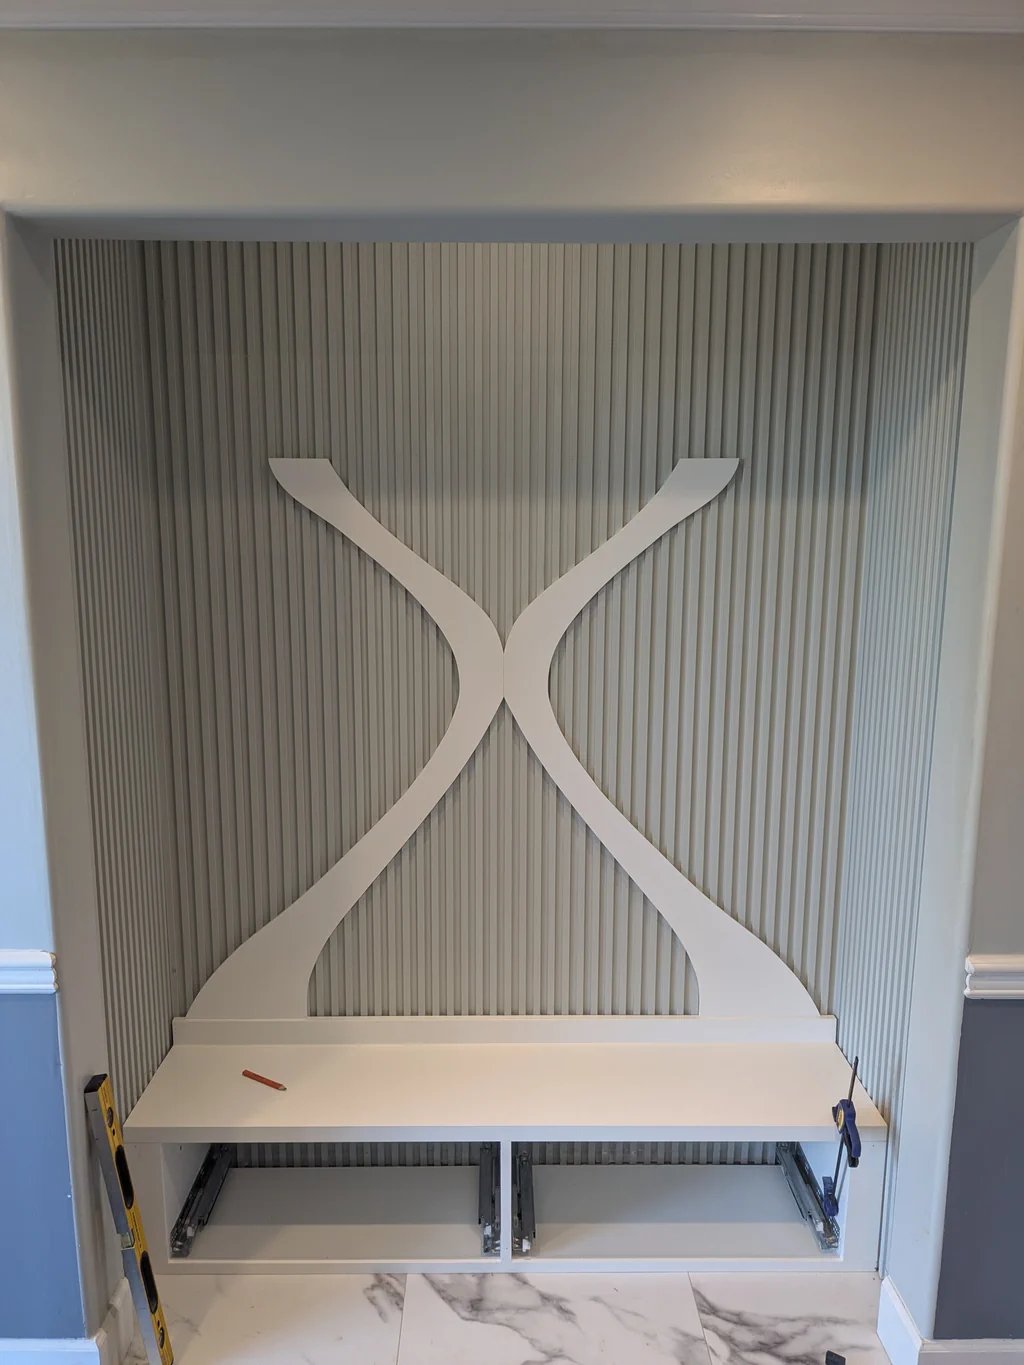
Step 3: The flair
Client was looking for some visual interest in the project, to make it stand out - a few sketches later and they liked these flowing elements to contrast with the beadwork background, and join up the lower unit with the top shelf.

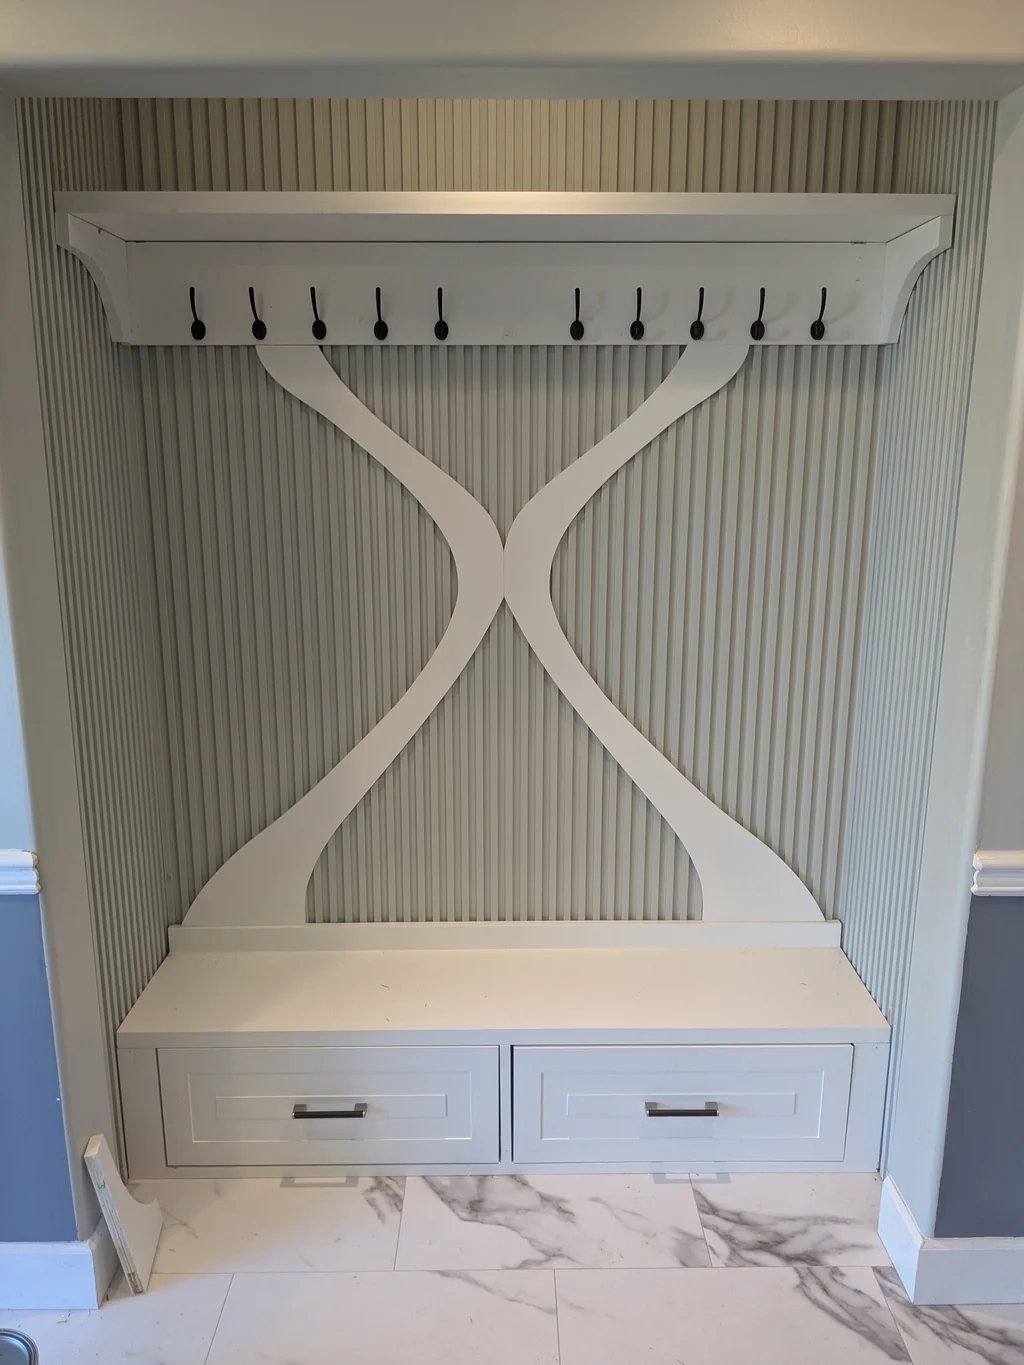
Step 4: All done but the touchup work
The hook panel and top shelf - also, made of sturdy double-layered 3/4" ply - gets securely fastened. Drawers installed, but still some touchup work to do, including getting those panel gaps uniform!
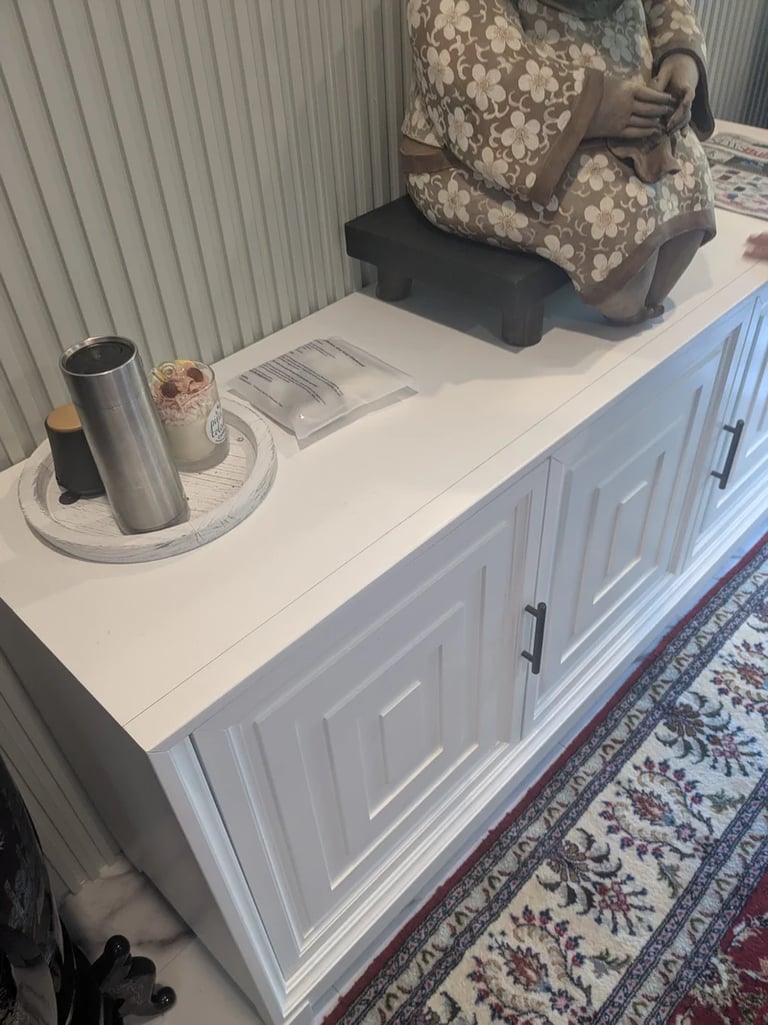
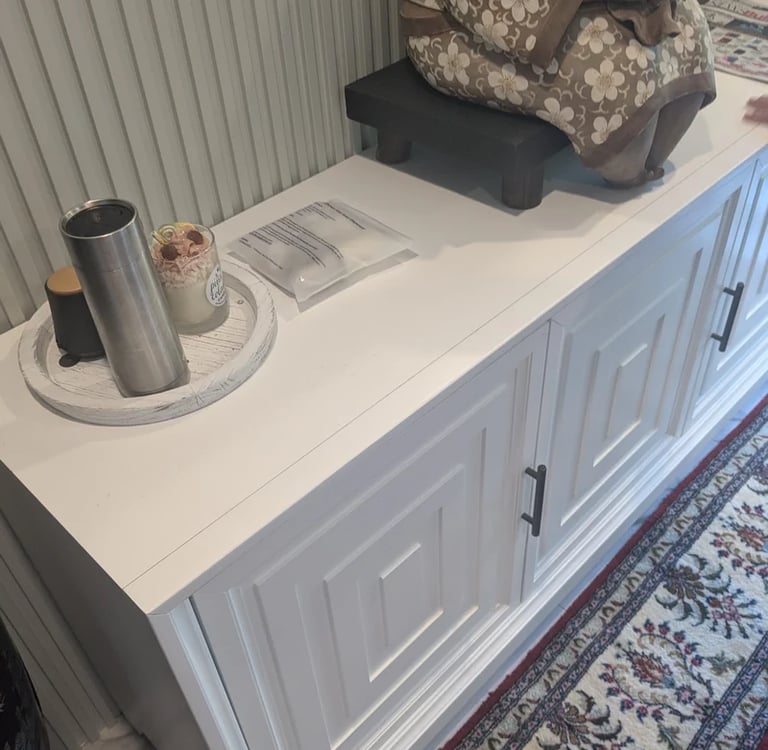
The vestibule's drawer fronts were designed to match the style of the credenza on the other side of the entrance hall, pictured below.

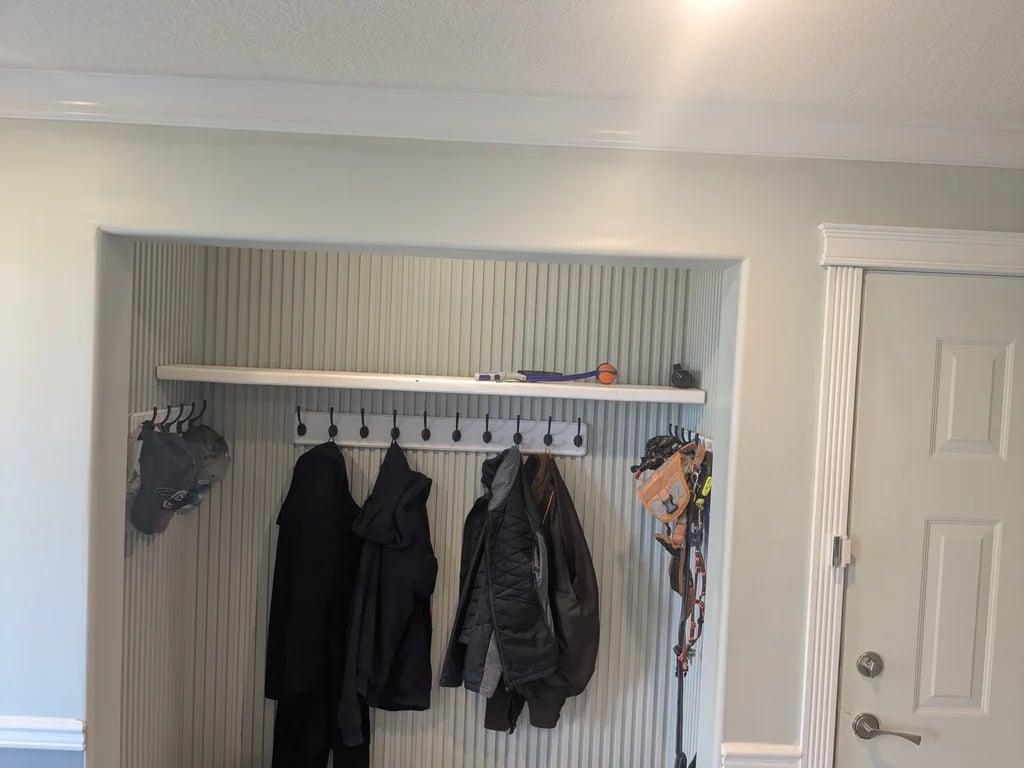
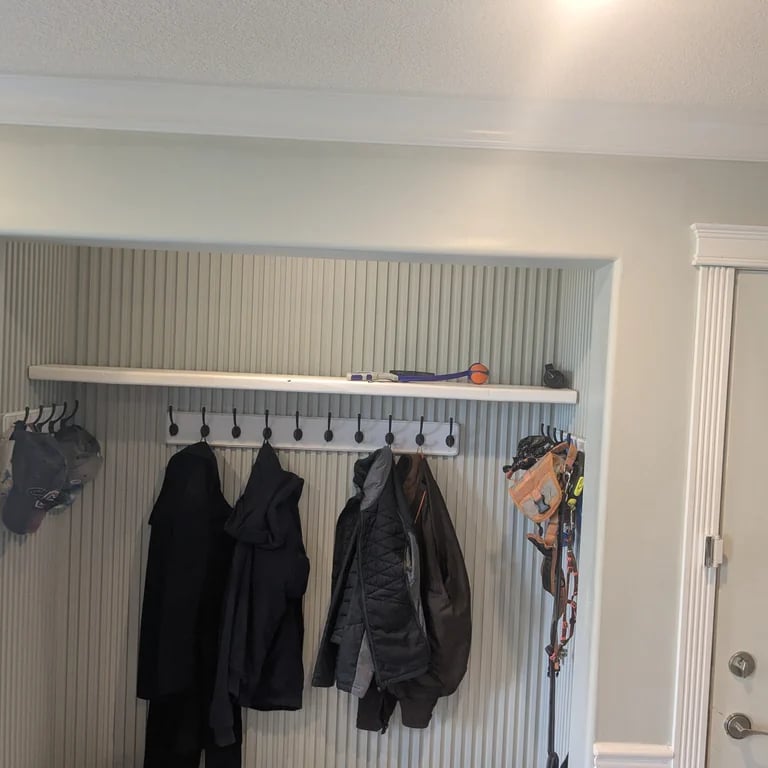
Finished: Ready for an active family
Now you have a front hall outerwear space that suits this family, and will stand up to heavy use for years to come, while contributing to the aesthetic of the home.
(Picture coming soon - haven't revisited to take an in-use picture yet!)
Call the Philosopher
Thoughtful handyman solutions for your home needs.
Call or text
Fully insured and licenced
abstract.into.concrete@proton.me
1-236-953-7698
© 2025. All rights reserved. All photos used on this site are real - no AI-generated or stock images!